
Overview
The roof flap covers on the B pillar are probably the most commonly broken item on the Barchetta. Although new, improved, replacement parts have been made available recently, this is an inexpensive DIY fix that has worked for the author for several years.
Tools required
- Drill
- File or bench grinder
- Spanner or socket to fit bolts
- Philips screwdriver
Parts required
- Pair of 60mm flush hinges
- Four small nuts and bolts
- Two very small plastic packing pieces about 5-8mm thick
- Black paint
Steps
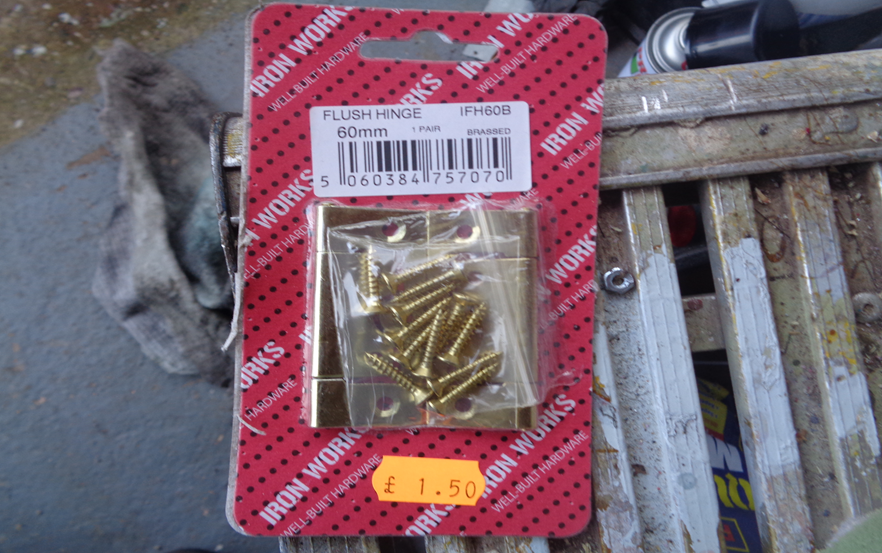
- These are the hinges used by the author. Only the centre flap of each hinge is needed.

- First, remove the B pillar trims from the car. There are two screws holding these in place. The lower one may be covered by a piece of trim that can be hooked out (the legs on these trim pieces are very brittle, Chris Reynolds can 3D print replacements for these).
- Once the screws are removed a small amount of twisting and turning is required to remove the pillar trim, this is particularly true on the driver’s side where the tonneau cover release handle needs to be navigated!
- Once the trim is removed, pull out the existing flap hinge pin.
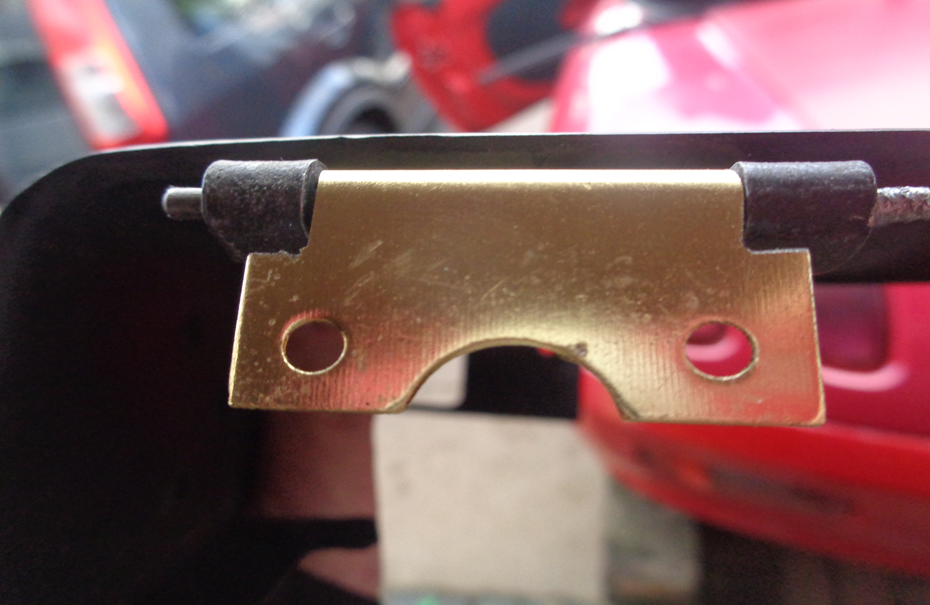
- Using a file or a bench grinder, remove the shoulders from the new hinge so that it can fit between the existing hinge parts.
- Push the hinge pin back into place

- On the back of the top flaps remove the plastic parts that formed the old hinge but mark where they were to aid placement of the new hinge.

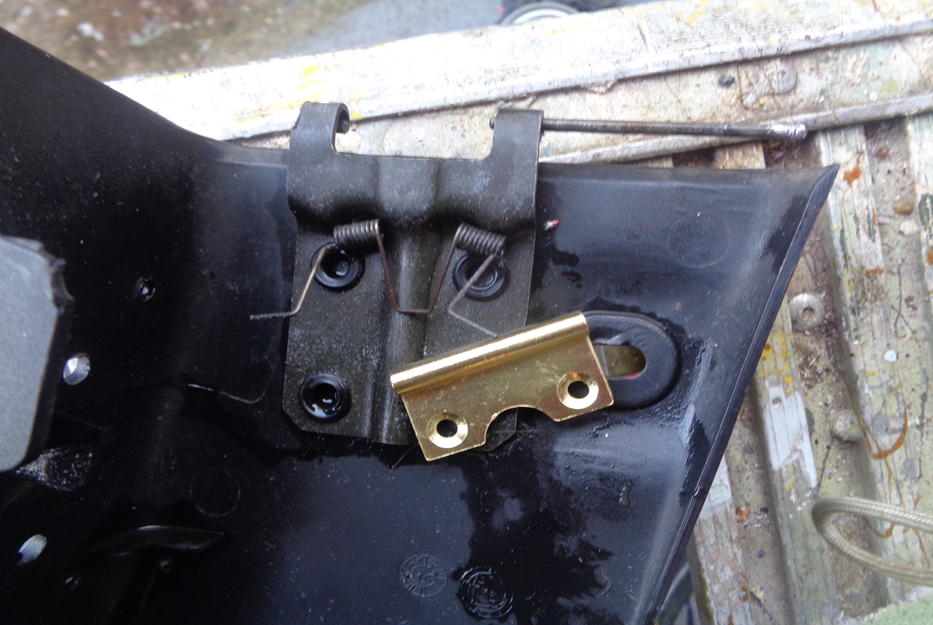
- Using the old hinge’s position as guide clamp the new one in place with packing underneath.
- Drill through the holes in the hinge for the nuts and bolts
- Install the nuts and bolts, a dab of black paint finishes them off nicely.
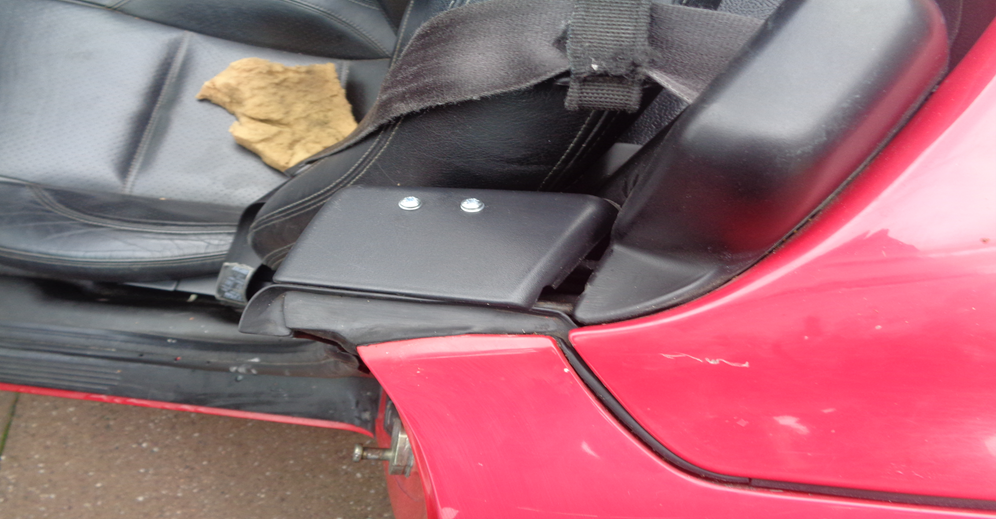
- Put the trim piece back in the car. Be careful to align it carefully to ensure it fits around the hood strut mechanism before securing it with the two screws.
